With the weather getting warmer outside, magic is taking place in our garden. My young children have been so excited to explore, make up games in the yard, and experience the pure magic of playing outside. I wanted to bring a little more excitement, imagination, and magic to our yard, so together we made a fairy garden. Today I’m sharing tips on how to make a fairy garden with your children.
Step 1 How Make a Fairy Garden
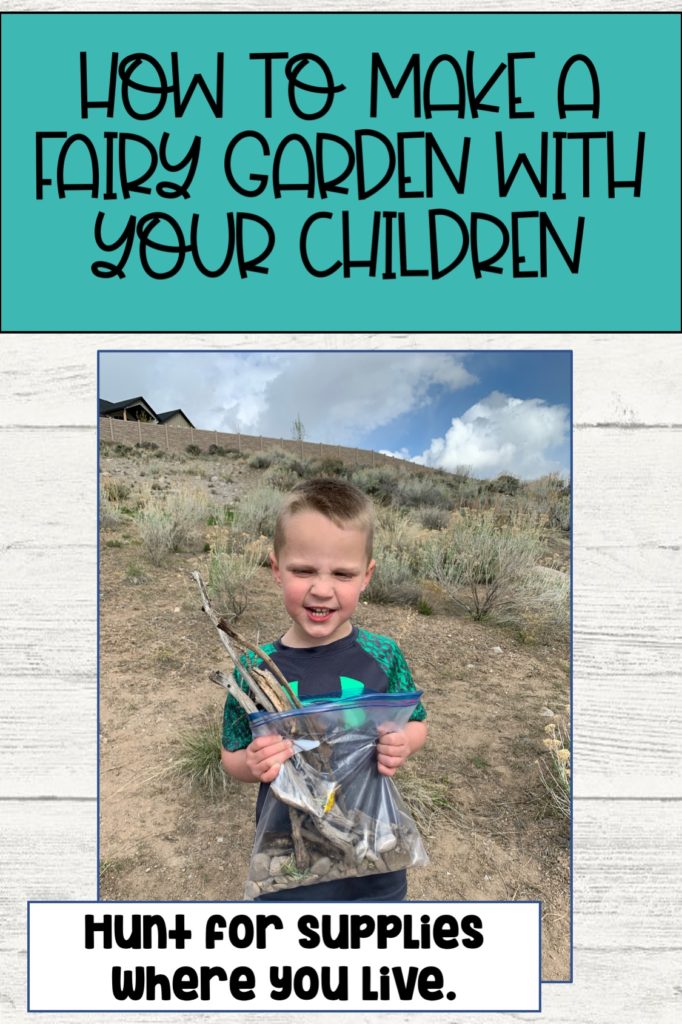
Once I got the idea that I wanted to make fairy gardens with my children, I quickly realized how expensive it can be. But, I don’t think fun needs to cost a lot of money. (I’m talking about $30-$40 for just a fairy house…I did not want to spend that.) So, we decided to make our own portions of our fairy garden by collecting our own supplies.
Each child was given a ziploc bag, and we went for a hike about a mile from our home. I told the boys they had the job of collecting small sticks and round smooth pebbles. The had the time of their lives hunting for these items on our hike, and we came back with two bags full of fairy garden supplies.
Step 2: Prepping the Planter Box
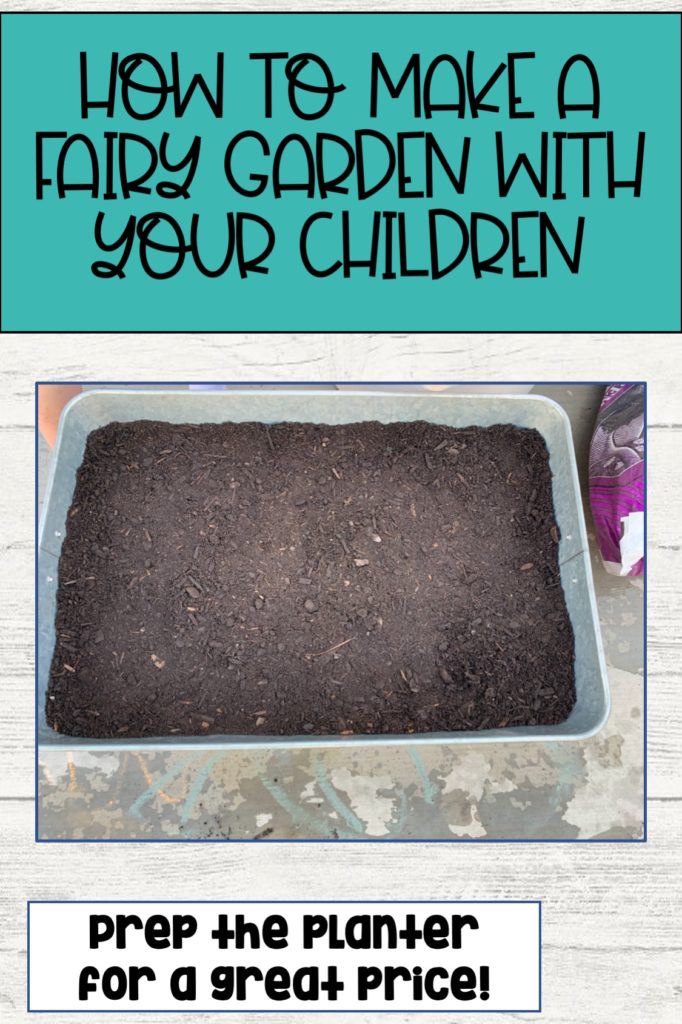
Planter boxes can be very pricey, especially when you get in to the larger sizes. So, I found a tin metal tub, made for storing drinks and ice in, for only $7. It was the perfect size, and super cute, but it wasn’t quite ready yet. No matter what you find to plant your fairy garden in, there needs to be holes drilled in to the bottom for the excess water to drain out. I simply took a drill and drilled about 10 holes in the bottom.
Also, depending on the size of your container, you do not need it entirely full of soil. Annuals roots will not go 2 feet down. You can take empty pop cans, empty jars, or this time I used empty milk jugs, squish them down, and place them in the bottom. Then, take fresh and new dirt meant for flowers and place it over the top.
Step 3 How to Make a Fairy Garden with your children: build your own house
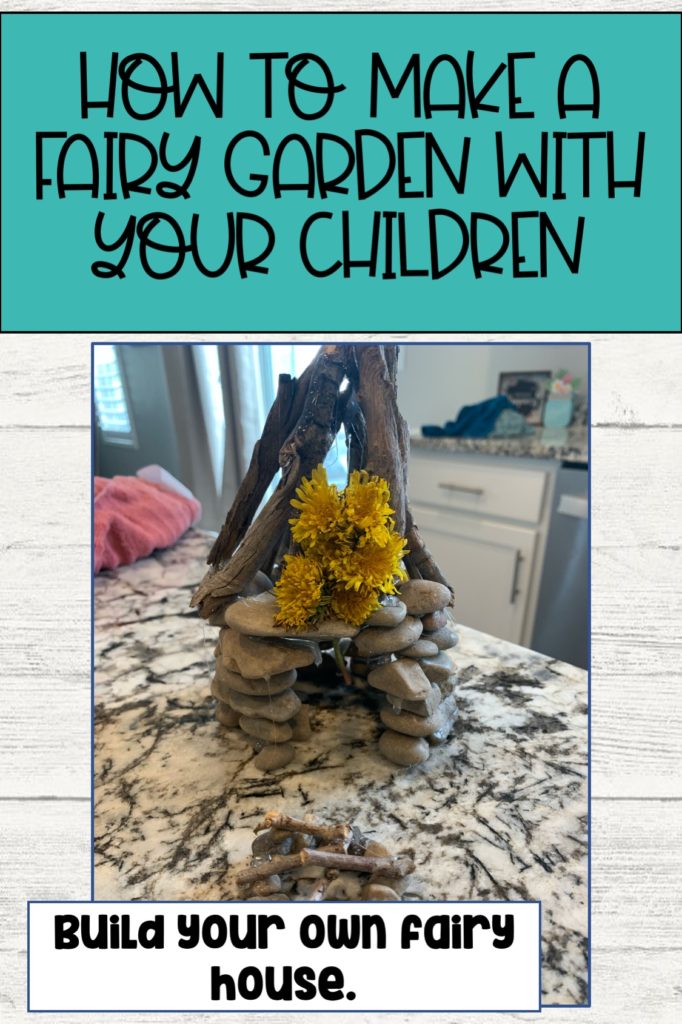
Do you remember how I mentioned that fairy garden houses can start anywhere as much as $30 and just go on up from there? Well, we made a fairy garden house for the price of glue. I let the boys decide the design of their house, with a small hint or two there. They also wanted to build a campfire outside of the house. It took patience, but they loved picking out each rock and stick to make the house.
Tip: We used hot glue to make the house. It worked well and held together, but as soon as I watered the flowers and it got wet it fell apart, even though the hot glue bag says it is waterproof. So, I purchased gorilla glue. This is meant for stone and has an even better accuracy of durability. I strongly suggest steering clear of hot glue!
Step 4: Pick your Flowers
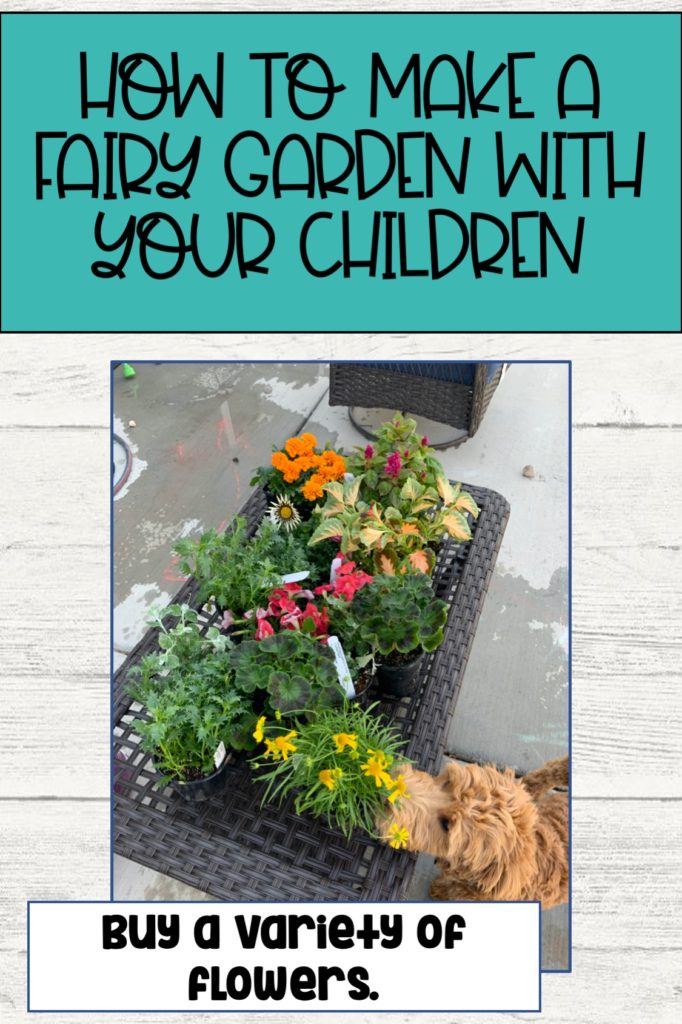
The trick to making the fairy garden really pop and seem exciting, is choosing a variety of flowers. If you are new to gardening, the main tip is a little does a lot. I promise, you won’t need very many flowers! The flowers pictured above filled up my fairy garden, 3 planter boxes, and some extras in to my flowers beds.
You want to choose flowers from the annual box. It needs to be above freezing at night to plant these flowers. I chose some flowers the grow taller and spread out, and some that wave down out of the pot, like wave petunias. I actually found a wholesale nursery near my home and purchased the flowers through them. It was almost half the price of what a box store flower nursery would cost.
Tip: Once your flowers are planted, miracle grow makes a world of a difference. It is worth every penny. Once a week, all summer long, water it with miracle grow and you will see amazing results.
Step 5: Putting the fairy garden together
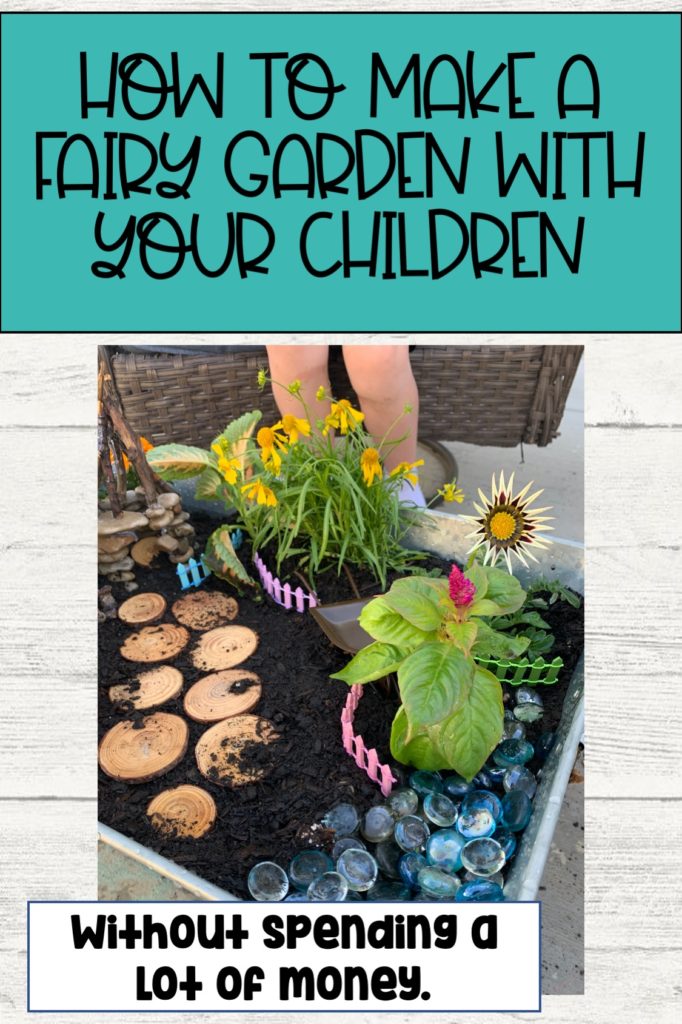
Putting the fairy garden together was the most exciting part! Aside from the flowers and the fairy house we used the following supplies:
- Blue beads to be a lake/river. These were purchased at Michals years ago
- Flat round log slices. These made the cutest pathway to the fairy house. I purchased these on amazon for a couple of dollars.
- Fence pieces: This is my favorite part of the whole garden. It made a huge difference. These were also purchased on amazon for a few dollars.
- Wheelbarrow: This was so adorable I just could not resist. This was purchased on amazon for a few ideas. Simply search fairy garden accessories and you will see some great ideas.
- Not Pictured: Rocking Chair-from amazon for a few dollars
- Not Pictured: We used modeling clay and made some small mushrooms to put throughout the garden. The clay was purchased on amazon and was very easy to make. They are taking longer to dry than I thought, and will be added once they’re done.
Step 6: How to Make a Fairy Garden with your children-what to do from here?
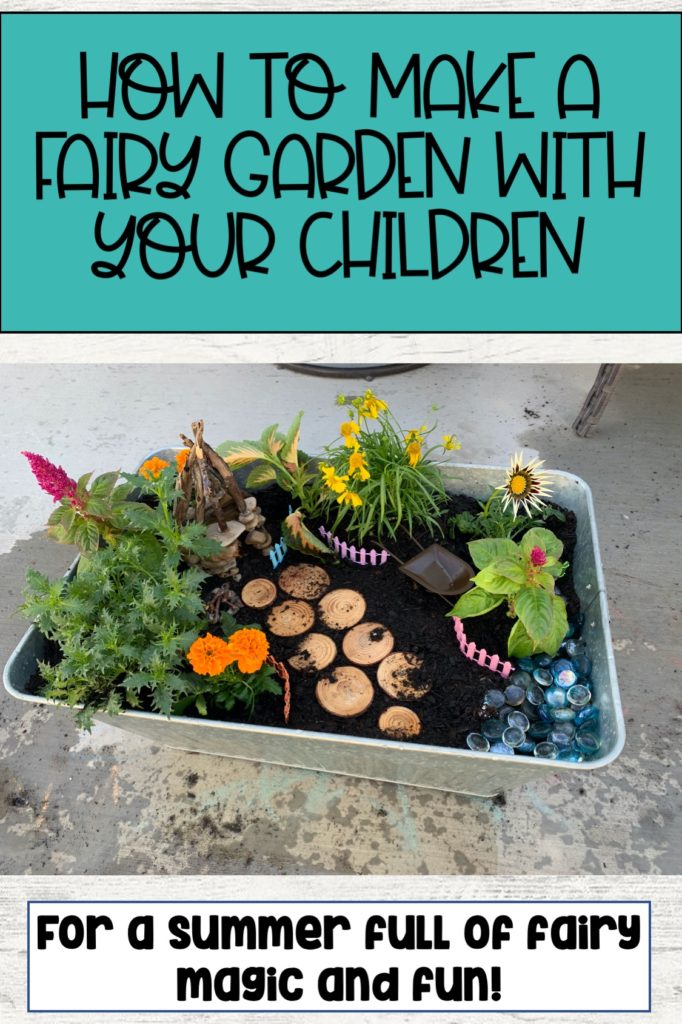
The fun is definitely not over now that our fairy garden is put together. My title was, “How to make a fairy garden with your children” but should really be, “How to make a fairy garden with your children that brings fun all summer long.” The best part is, it is going to teach my children great gardening skills. It will be their job to water the fairy garden each day. I will also teach the the skill of dead heading flowers. When the blooms die, you have to pull them off so that new blooms will grow in.
We will be reading stories about fairies this summer, and making up stories together. I will also be throwing a few supplies in to the fairy garden as well. I thought every week or so, a surprise may show up in the fairy house: a treat or two, a letter from the fairies, a small book to read together…it will bring the excitement and have them checking for occasional fairy fun!
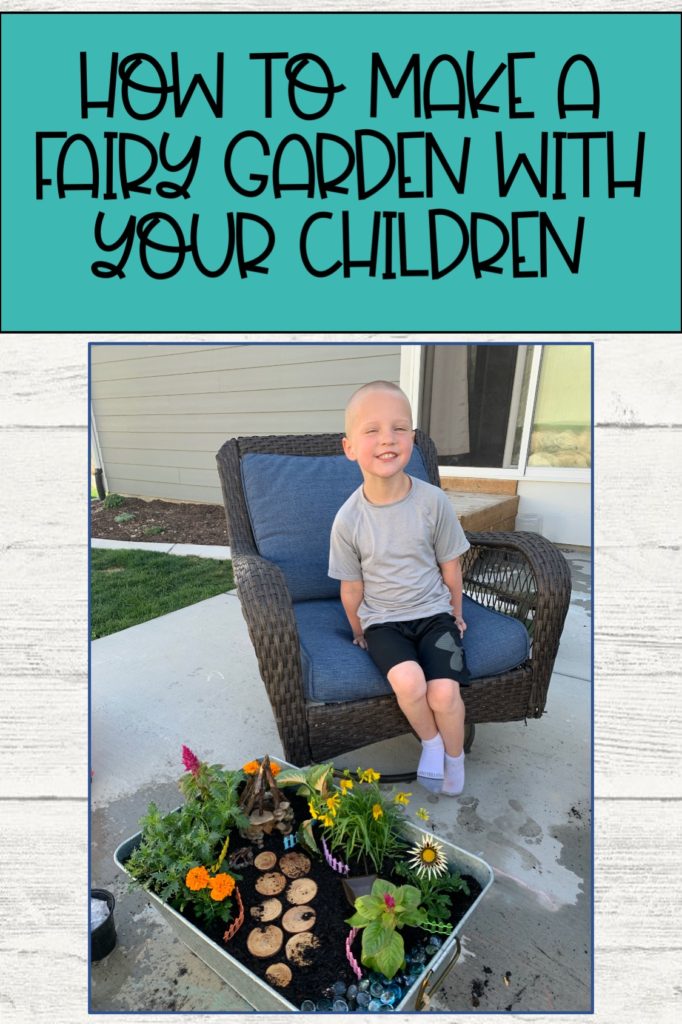
Whether you have any gardening skills or hot, you can make a fairy garden, I promise! If you are wondering how to make a fairy garden with your children, I hope these tips helps. Follow along @melissaslittleowlacademy for more preschool ideas and fun and to see how our fairy garden progresses this summer!
